How to Start Small: Fun embroidery tips for beginners
"The needle moves, the thread follows, and suddenly a plain piece of fabric becomes a landscape of texture."
Embroidery is a tactile way to express creativity through needle and thread on fabric. To enjoy this hobby, focus on small projects to avoid burnout and prioritize the process of stitching over perfect results.
This guide covers how to start small, essential supplies, and how to keep the hobby engaging for the long term.
What is the essence of embroidery?
In the quiet morning light, the smooth sensation of linen yields as I start to pull the needle through the fabric.
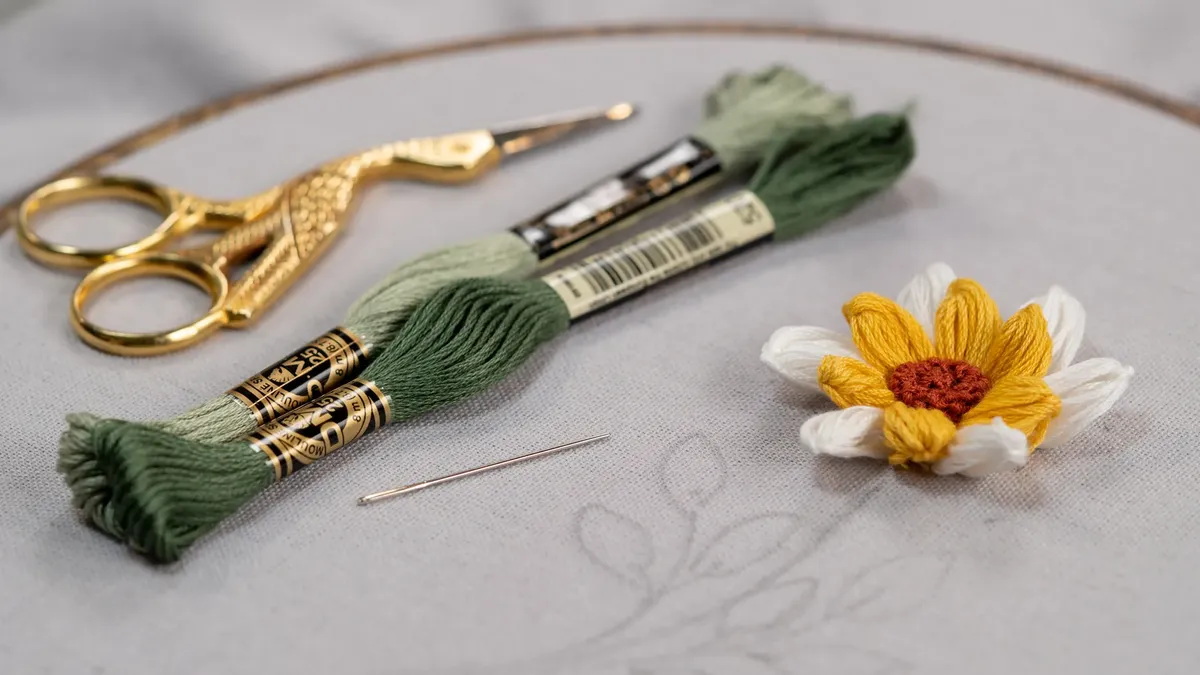
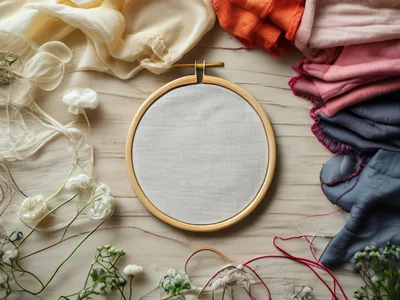
A wooden hoop rests on a wooden table, catching the soft morning light as a single needle pierces through linen. This craft involves decorating fabric using a needle and colored thread to create various patterns and textures.
It offers a meditative rhythm that allows for both artistic expression and quiet relaxation.
The joy comes from the physical sensation of the thread pulling through the cloth and the visual transformation of a blank surface. People often find peace in the repetitive motion of basic stitches.
It is not just about making something beautiful; it is about the meditative flow of the hand moving in sync with the eye.
It is the art of decorating fabric through the use of needle and thread.
How to start your first project?
At my wooden desk, I grip the fabric tight to start my very first stitch.
A hand holds a small hoop, tensioning the fabric tightly before the first stitch is placed. Starting with tiny, manageable tasks prevents the frustration that often comes with large, complex tapestries.
- Choose a small fabric swatch or a plain cotton handkerchief to practice on. 2. Pick a simple design, such as a single flower or a geometric shape, to minimize complexity. 3. Limit the number of colors to two or three to keep the focus on stitch technique.
I once spent an entire afternoon just working on a single small leaf, finding more satisfaction in that tiny detail than I would have in a massive wall hanging. This approach ensures you finish what you start.
- Choose a simple design to trace onto your fabric.
- Transfer the pattern onto the material.
- Secure the fabric in a hoop and begin stitching.
What supplies are needed for an easy start?
In the soft morning light, I reach into the basket to start gathering my colorful threads.
A small basket holds colorful thread skeins and a variety of metal needles. You do not need an expensive kit to begin, as the most basic tools are often the most versatile.
| Essential Item | Purpose |
|---|---|
| Embroidery Hoop | Keeps fabric taut for even stitching |
| Embroidery Floss | The colored thread used for decorative patterns |
A basic kit usually includes a hoop, needles, and thread, which is sufficient for most beginner projects. You can find affordable alternatives in craft stores to keep initial costs low.
You will need embroidery hoops, needles, fabric, and various colors of embroidery floss.
Fun embroidery tips for beginners
A person sits by a window, laughing softly as they add a bright yellow stitch to a finished piece. Keeping the hobby lighthearted is the key to preventing it of becoming a chore.
Focusing on "imperfect" beauty helps you stay relaxed. Instead of striving for museum-quality work, treat your first pieces as experiments in texture and color. Engaging in easy embroidery projects like decorating a denim pocket or a plain tote bag provides immediate gratification.
Sharing your progress with friends or online communities can also add a social dimension to the craft. If you want to keep the momentum, try making small embroidery ideas like personalized patches. These small wins build confidence and keep the interest alive.
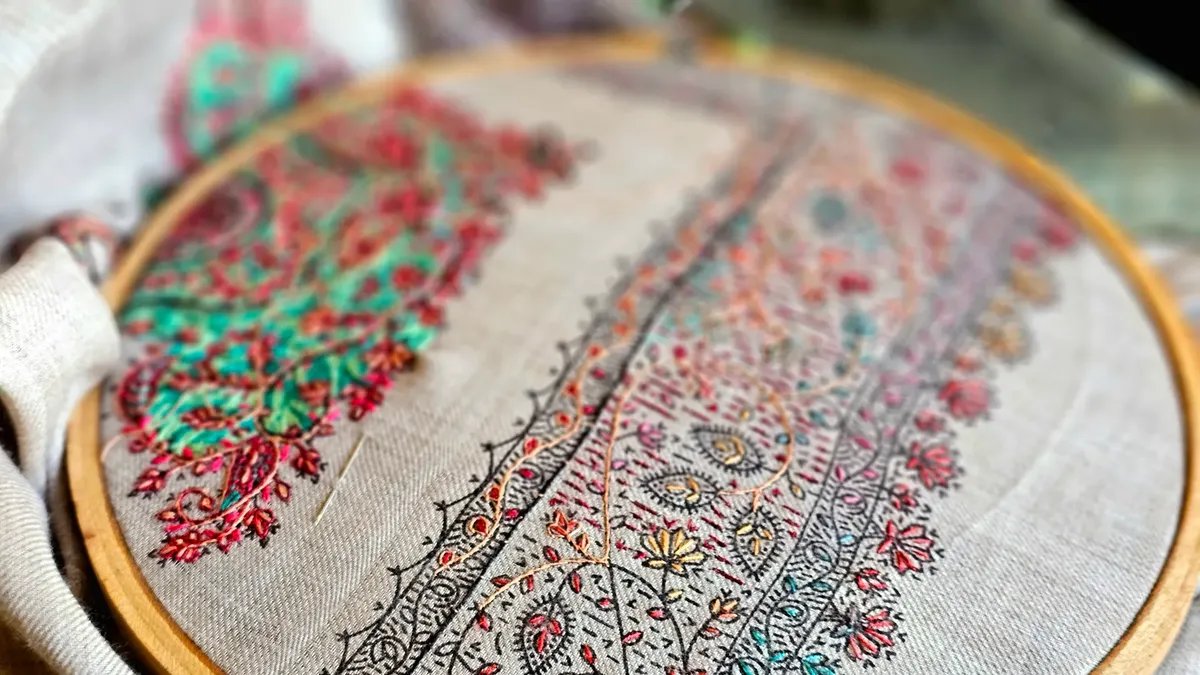
In this sequence, the second step is the longest.
How to improve your skills?
A magnifying glass rests beside a pile of intricate thread samples, showing the progress of a dedicated learner. For those who want to move beyond the basics, gradual skill building is essential.
- Master basic stitches like the running stitch, backstitch, and satin stitch through repetition. 2. Practice tension control by working on different fabric weights to see how the needle reacts. 3. Study different thread textures and how they catch the light to add depth to your work.
When you feel ready, try combining different techniques to create more complex textures. Moving toward more detailed work should only happen once the hand feels comfortable with the basic movements.
Practice different stitch types regularly to expand your creative repertoire.
Common mistakes to avoid
A needle rests on a pincushion, next to a piece of fabric where a thread has become tangled. Understanding common pitfalls can save you from the frustration of starting over.
The most common mistake is pulling the thread too tightly, which can cause the fabric to pucker or bunch up. Another error is using a needle that is too large for the fabric, making it difficult to control the stitches.
Always ensure your hoop is tight enough to keep the fabric flat, but not so tight that it stretches the fibers permanently.
One limitation of starting with very thin fabrics is that they may require more stability or an extra layer of backing to prevent pulling. Embroidery is a versatile hobby that can be scaled from tiny patches to large art pieces.
By starting small and focusing on the joy of the process, you can develop a lifelong creative outlet.
Avoid pulling your stitches too tight, as this can cause the fabric to pucker.
The subject here is Fun embroidery tips for beginners.
The same subject is also called How to enjoy needlework.
The same subject is also called Beginner craft tips.
This part also covers Starting embroidery small projects.
This part also covers Making embroidery fun easily.
This part also covers First steps in needlecraft.
Starting embroidery small projects
Related
When should I switch from practice to a real project? Switching to a real project occurs when the hand feels comfortable with the basic movements. This transition should follow mastering fundamental stitches such as the running stitch, backstitch, and satin stitch through consistent repetition. The needle moves smoothly when the learner has achieved a basic familiarity with the tools and techniques.
This shift allows the creator to move toward more detailed work, which is the next natural step in skill development. Before attempting intricate designs, ensure the tension control feels consistent across various fabric weights.
When the learner starts to feel confident in the foundational techniques, they can begin experimenting with combining different stitches to build more elaborate textures.
How does the needle's movement relate to fabric tension? The needle moves through the fabric while the hoop maintains tension, which is crucial for even stitching. If the hoop is not tight enough, the fabric may stretch during the needle's passage, leading to uneven results. Conversely, if the tension becomes too severe, the fibers of the fabric can sustain permanent deformation.
When practicing tension control, working on different fabric weights allows the learner to observe how the needle reacts to varying levels of resistance. This comparison helps the artisan understand the required force for the needle to move cleanly through the material.
A consistent tension ensures that the thread pulls through the cloth uniformly, which is necessary for the visual transformation to appear balanced. The thread follows the path dictated by the needle's entry and exit points, making tension management a key part of the process.



Comments 0